Home crafts have never been so uplifting for everyone. From art to work and everything in between, check out these DIY projects to transform your home from drab to fab!

Art-werk
Let your right-brain rock to the beat of its own creative drum!
Wall Art
Is that a Van Goh? It could be…
Masking Tape Decal Art
You can perform nearly any type of DIY project at home with masking tape. From abstract geometric shapes to origami cranes and airplanes, you can create a decal for any room with a touch of imagination and tape!
You can even use washi tape to showcase a wall’s pictures!
T-Shirt Wall Art
You haven’t worn that shirt since college but you still love all the memories. Don’t retire it — transform it with this DIY project! With stretched canvas, a pair of scissors, and a tacks or hot glue gun, you can relive your memories and showcase them.
You can even use a scarf instead of a shirt for an abstract take on up-cycled wall art.
From household items! Yellow and white paper, Q-tips, and yellow food dye complete the look for welcoming spring. If you want to form these paper flowers into a wreath, you can do so by hot-gluing them to cardboard or sticking them into a styrofoam circle.
You can even make small succulents out of paper.
Organizing Your Nooks and Crannies
From bathroom to desk and kitchen, you’ll want to add a little rhyme (and reason) to your everyday life.
Bathroom
You probably have a few straggling bobby pins or maybe even a hairdryer hanging out in the open. Get an extra organized start to your day with this DIY home improvement project.
Use the back of cabinet doors
Attach PVC pipes with velcro to the back of your cabinet door — these will act as holders for your curling irons or straighteners.
Magnetic knife strips are easily transformed for cosmetic items (such as bobby pins, tweezers, or nail clippers)!
Kitchen
Come here often? Yes. Everyday. In that case, give it a good organizational start.
Here are two common organizational nightmares and a DIY home improvement project to help you fix them.
Spices: what do you even do with all of them? Move them to a drawer with a rounded organizing rack (like this one from IKEA) so that they are visible — but not too visible.
Plastic containers take over the world, but they don’t have to take over your drawer. Using drawer dividers (like these from Amazon) or even a drawer peg organizer, these DIY projects will help you recognize the benefits of living in a lighter manner with your to-go containers!
Papers in Your Desk
You know that sticky note from college? Or what’s that book doing from grade school at the bottom of your drawer? Check out these DUY projects for home that will help you organize your desk.
Memo boards with magnets
Create a magnetic memo board with galvanized metal and an older frame, and you’ll be good to go in no time. Hang it up above your desk with a command hook and you have your very own magnetic inspiration wall.
Use magnetic clothespins to serve as reminders at the ready — but also off your desk.
Otherwise, you can use a metal grid from Amazon and binder clips to give a modern yet functional look to your space.
Transforming Small Into Big
From work to workouts and everything in between, you’ll love these ideas for transforming your small space into a fully functioning space that works for you.
Closet + Office = Clofice
Working from the kitchen table is so high school and working from your bed is so college. All the cool kids are raving about the clofice (i.e., closet + office). Turning your closet into an office is not only the rage but also ingenuity at its finest! Considering that studies suggest you separate your work from your play, this DIY home improvement project will give you a physical reminder of your office space.
You’ll want to explore your available closets keeping in mind your specific needs.
Be sure to decorate so you don’t feel like you’re holed up in a closet all day… (maybe try some up-cycled DIY art ideas???)!
Ample light is a must — but hard to come by these days. Try increasing your focus with a happy light!
Twerk-out Gym
Peloton ain’t got nothin’ on your at-home gym. Creating a gym-space can be extremely daunting, especially for those in a studio or small space. In times like these, though, you’ll be eternally grateful for some movement (beyond the couch) in your life!
Where Oh Where
Find some space near a window for natural light. If your window faces a wall or an unsightly trash can, consider hanging a curtain or decal to focus and inspire your movements. As a general rule of thumb, coordinate your environment so it is conducive to your habits, i.e., if you like a certain candle for yoga, light it for the ambiance. If you need a certain diffuser to counteract your sweat-smell, fire it up.
Equipment Must-haves
If you’re in the position to do so, you can consider these minimal equipment ideas for your at-home gym space. From a jump rope to ankle weights, you’ll be surprised how a little addition to your routine can affect your workout!
The Space
Consider items that would inspire you to come into your at-home gym space and give it your best! Be it speakers, a playlist, or a quote, try to incorporate any of the above (and more). On a serious note, a full-length mirror is ideal for any at-home gym. Even pros need to see their form and make tiny adjustments as needed — invest in a mirror (even if it’s one from your college days on the back of a door!).
Spring Into Spring Cleaning
The time is ripe to clean — even if it doesn’t feel like spring.
White Shirt Cleaning
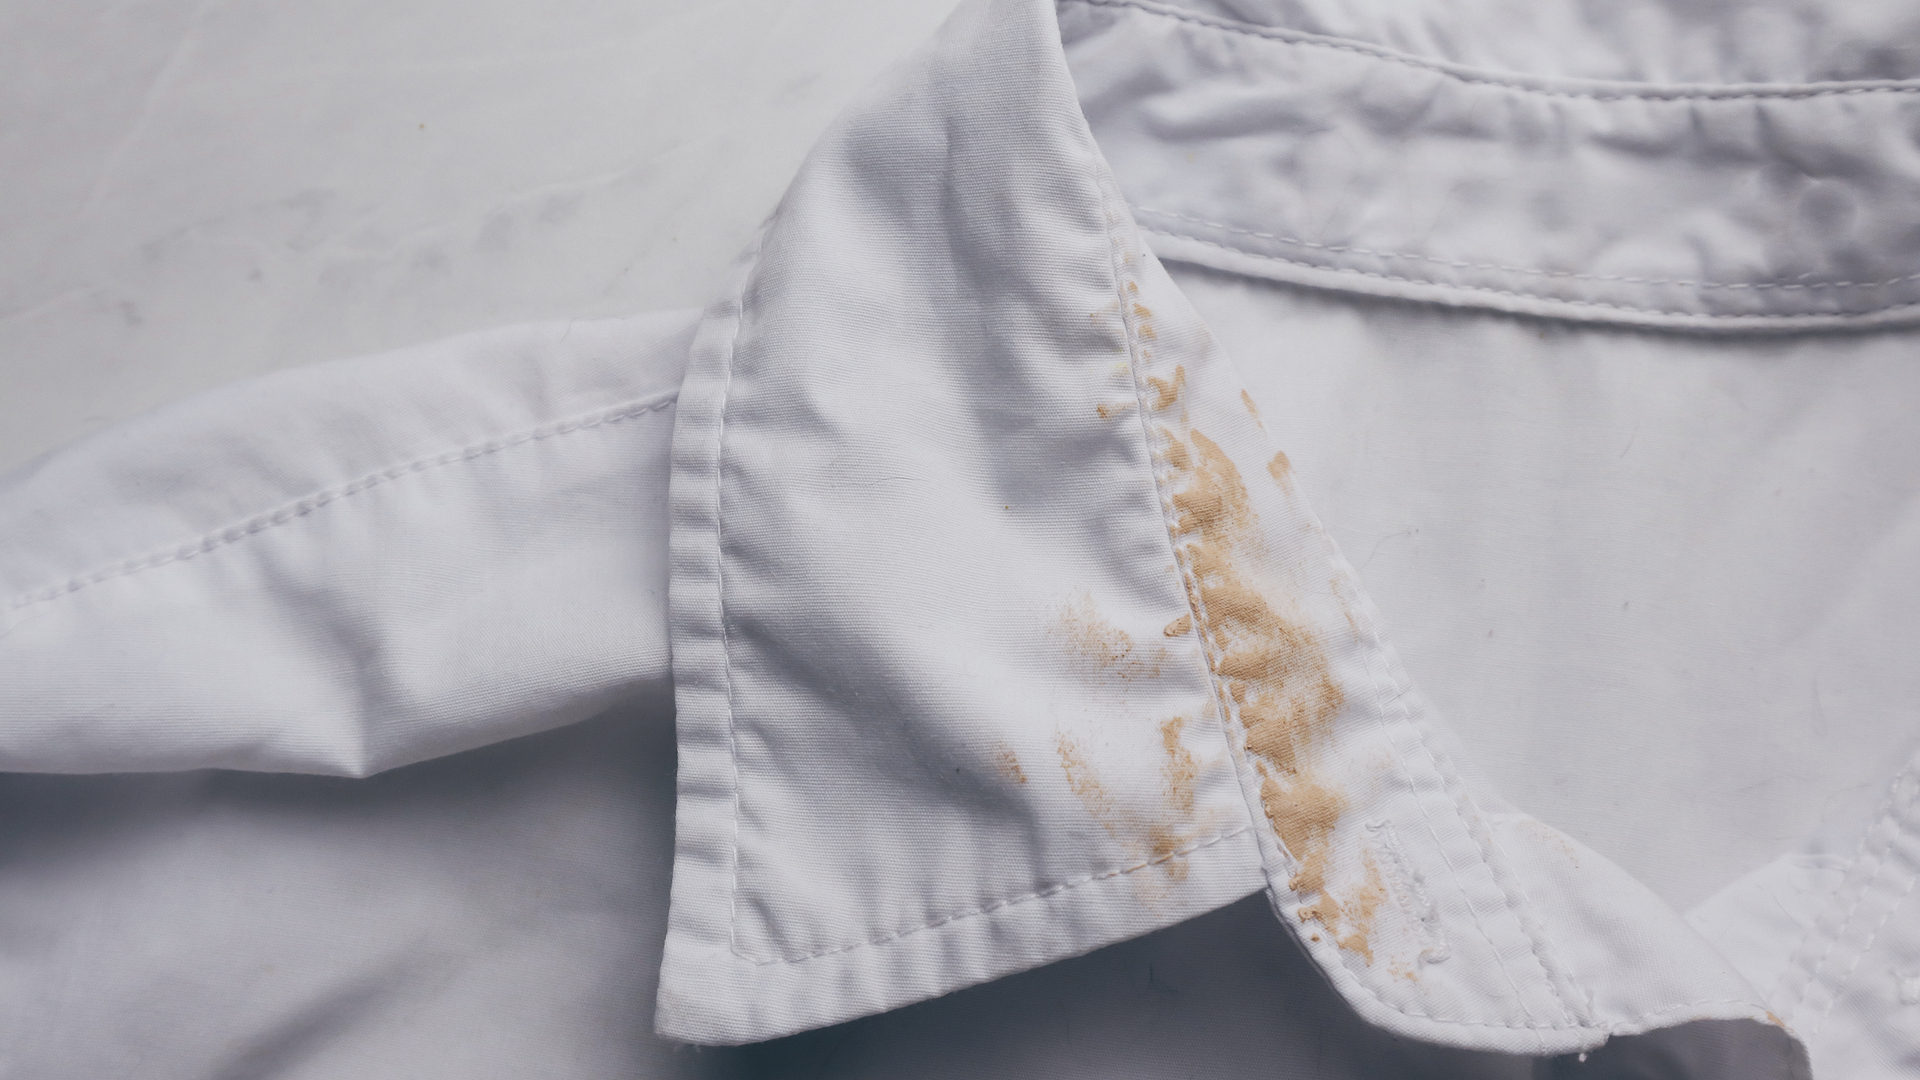
It’s like an eraser for those pit stains!
Picture this: your favorite white shirt has those unsightly (but in sight) sweat stains. Your shirt looks yellow (especially around the collar or under the armpits). In anticipation of your next (at-home) White Party or (at-home) Memorial Day plans, be sure to try this simple DIY project to remove dingy stains.
Soak
Combine 2 cups of warm water with 1 cup of vinegar in a small bowl. Submerge and soak your item in this solution for a minimum of 20 minutes.
Be Bill Nye
While your item is soaking, make a paste from the following household items. You’ll feel like a scientist in no time!
– ½ cup of baking soda
– 1 tablespoon of salt
– 1 tablespoon of hydrogen peroxide
Pat the Paste
After approximately 20 minutes of soaking your item, gently ring and twist the vinegar solution out of it until damp. Lay the item flat and apply the paste to the stains (you can use a spoon for a thick application). Allow the paste to do its magic for at least another 20 minutes.
Wash With Whites
Throw that item in a load with your other white items for laundry day. You’ll be amazed by how pristine your white items look!
DIY Dry Cleaning
Save money! Save the earth!
You most likely have a pile of your prettiest clothes that you’ve worn as many times as you can — before quarantine. In light of isolation, you can dry-clean these items in anticipation of their debut (post-quarantine)!!
It’s in the (Mesh) Bag
Mesh bags are ideal for clothing that needs a lighter touch. For your wool, silk, rayon, or other dry-clean items, mesh bags and an express cycle with warm water make up the ideal combination. First, mesh bags mitigate the friction your clothes would otherwise experience in the washer. Remember to wash the item inside out and then place inside the mesh bag!
Soapy Suds = No Residue
Now invest the money you would have spent on dry cleaning one item and put it towards a premium/top-shelf laundry product. Don’t skimp on the detergent — especially if you want a soft touch and no residue.
Squash Those Stains
Now for those items that have stains and happen to be dry clean only — there’s a solution!
Spot-treat with a stain product (similar to that of the detergent you used — top-shelf preferable!) and a toothbrush or, if you’re super bougie, you can spot-treat with a horsehair brush and stain product.
Spot-treat for cotton items with a spray bottle filled with rubbing alcohol.
Smooth Those Wrinkles
Wrinkles cramp your style — but with your at-home can-do attitude, they won’t stand a chance!
If you don’t have a steamer lying around, use a wet towel between the clothing item and an iron.
Sniff, Sniff, Super!
If you are craving that clean, fresh scent, look into Ironing Water as you iron. Sure, it’s a little extra BUT you legit just cleaned your own wardrobe! Treat yo’ self.
Otherwise, if your clothes just need to smell “fresh,” pour some vodka in a spray bottle and light spray your clothing item. It’s a trick from the theater world — thanks, Shakespeare!
Truth is that those pretty clothes are pretty demanding. When you’re in a pinch for money (or in need of a sense of accomplishment), you can dry-clean your items at home and feel like a pro!
Cleaning Your Couch
Your couch has gotten a lot of one-on-one time with you. Give it the clean it deserves!
Dirt is Dirty
Equipped with a vacuum or brush extension from your vacuum, you’re fully prepared to get into all the nooks and crannies of your couch. Is that an Oreo? Is that my left AirPod? Sure is. Treasures lie within the depths of your couch!
If you want to deodorize your couch cushions, stick around near the end after cleaning the stains.
Non-fabric Embellishments
Be ready to mix a solution of water and a gentle soap (liquid dish soap is good!) in a spray bottle. Spray down the non-fabric (i.e. wood or metal) parts of your couch and wipe down with a soft towel. This may seem tedious – but it’s so necessary for a complete look and feel.
Upholstery Cleaning
Ask the right questions. What fabric are you dealing with?
Find that tag with a bunch of symbols, text, and letters. Find it? Good! Let’s decipher those hieroglyphics – together.
- WS: dry-cleaning detergent or mild cleaning product and steam vacuum.
- S: ONLY dry cleaning detergent (!!)
- X: No water. No dry cleaning detergent. Just a vacuum.
- W: Water is A-OK (i.e. this is the friendliest for cleaning!)!
Upholstery Cleaning
Second, see a stain? Spot-treat it! This, is of course, all dependent on your previous hieroglyphic reading. Be careful!
Fabric (W and, most likely, WS): Make a solution of vinegar (¼ cup), warm water (¾ cup), and dish soap (1 tablespoon) in a spray bottle. Spray the stain and scrub it out with a soft cloth. Once the stain is out (or lifted), be sure to remove the soap with a second cloth (preferably, moistened with water). Finally, pat-dry the wet area with another towel.
Leather (Most likely X): Make a solution of olive oil (¼ cup) and vinegar (¾ cup) in a spray bottle. Once you’ve sprayed the stain, buff it out with your elbow grease (i.e. a soft towel).
Synthetic (W and, most likely, WS): Make a solution of vinegar, warm water, and dish soap in a spray bottle. After spraying the stain, scrub it out with a soft towel until it lifts.
Avoid sitting on your newly discovered and squeaky-clean couch! Set up a fan or let the air dry the cushions! And you’ll be cozy in your fresh feeling couch!
Addendum: Deodorizing the cushions is a breeze!
If you’ve already taken care of stains (or you didn’t have stains…), you’ll want to vacuum the nooks and crannies of your cushions and couch. Next, you’ll sprinkle the cushions with baking soda. Not too much — just a light dusting. Let the baking soda sit for 15 minutes (that’s enough time to meditate!). And then vacuum the couch and all of its crevices to remove the baking soda.
You have the know-how and imagination to transform your space. From cleaning and artwork to organization and exercising, you’re sure to have a renewed sense of appreciation for your space!


