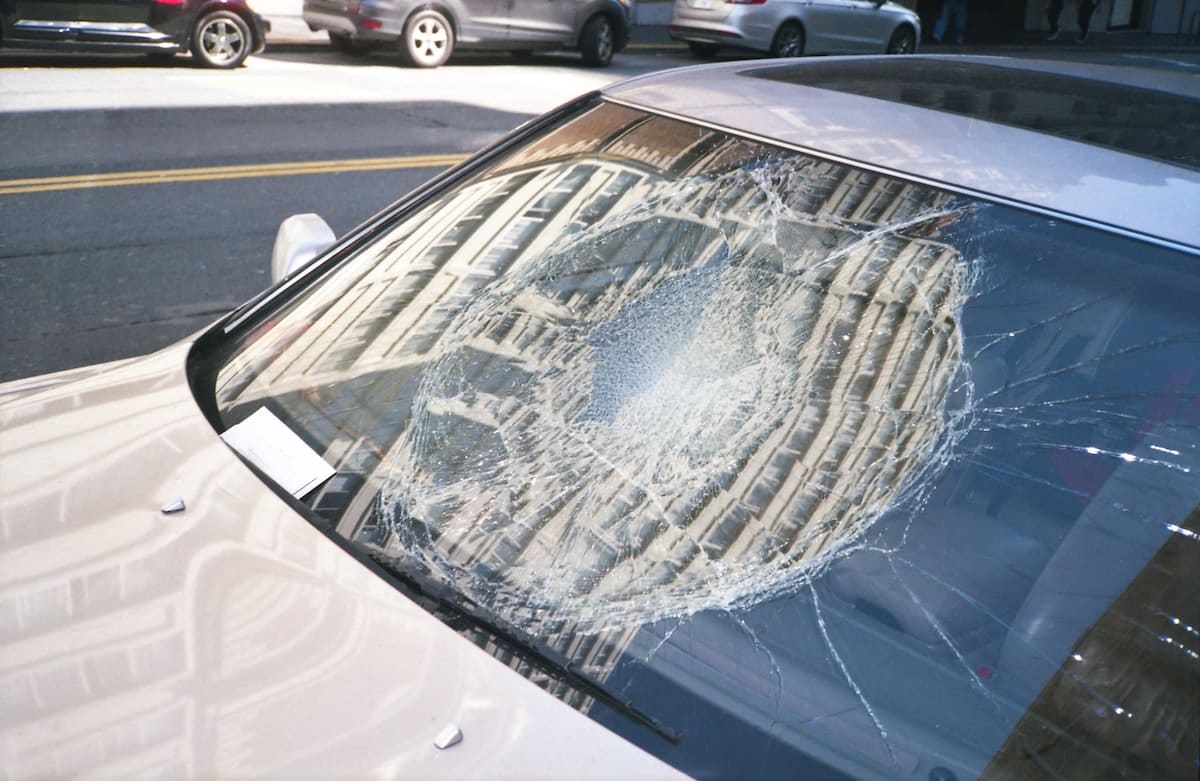
Whether created by a rock flying up from the street or another impact, chips and cracks will expand with time. If they grow too big, the whole windshield might need replacing. Did you know that these cracks and chips can be repaired? Some small windshield chips and cracks can even be fixed at home with a repair kit.
How to Fix a Windshield in 10 Steps
To start with, purchase a windshield repair kit at your local auto parts shop. Epoxy resin, which will be included in the kit, has a shelf life, so be sure to look at the expiration date if it has one. Otherwise, ask the employees to be sure it hasn’t been sitting on the shelf for more than six months.
To make sure you get proper adhesion during the repair, clean the exterior of the windshield well where the repair will occur. But never spray glass cleaner directly onto the crack or chip. Rather, pour a small amount of rubbing alcohol on a microfiber rag, and wipe the surface. Use a pin or thumbtack to remove any loose shards of glass in the chip or crack.
If the epoxy resin in your repair kit needs UV light to cure, pull your car out of the garage or from the shade into the open sunlight. Preferably, save windshield repair for a warm, sunny day. If it’s been raining, be sure you use a hair dryer to eliminate moisture from inside the chip or crack prior to using the epoxy.
Follow the instructions closely on your kit. Use this guide as a reference along with the kit’s instructions.
1. Peel off the paper backing on the adhesive patch to expose one side of the adhesive. The chip can not be any larger than the round cutout in the center of this patch. Center the patch over the chip and apply it to the clean, dry outdoor-facing side of the windshield glass. Peel off the other side of the paper backing and apply the pedestal– the molded piece of plastic with a tube angling upwards– to the adhesive. Align the tabs for easy removal.
2. Mix your resin if needed. Pour the liquid resin into the pedestal, filling it all the way up to the top. Compress your syringe all the way down and insert it firmly into the pedestal.
3. Use one hand to hold the pedestal while you carefully pull up on the syringe plunger– do not worry, this will not draw up the resin. Continue drawing up the syringe plunger until you reach the end of its working length. Some syringes might have a clip to stop you from accidentally removing the syringe from the pedestal. Drawing the plunger up creates a vacuum in the syringe that will gradually draw the air bubbles out of the resin and off of your chip or crack; from inside the car, you should see air bubbles gradually leaving the chip. Refer to the instructions for how long the syringe should sit. We have actually seen some kits that take as long as 10 minutes, others as quick as 1 minute. However, don’t continue until you no longer see bubbles.
4. Hold the pedestal with your hand while you remove the syringe from the pedestal with your other hand. Reinsert the syringe. Now slowly push the syringe plunger down to force the resin into the chip or crack. You should usually stop pressing about midway down, wherever the instructions suggest or where the clip stops the syringe.
5. Gently knock on the window with your knuckles to release any trapped air bubbles in the chip. If there’s a small spot in the chip that isn’t filled, push the syringe down a little farther. Just a little (half inch), or you’ll run the risk of blowing out the adhesive seal (and have to start over).
6. Reference the instructions for how much time the syringe should remain in this position. When the epoxy resin is cured, remove the adhesive patch and also pedestal.
7. Do not wipe anything yet! Get your tube of resin and put a drop or two right on top of the chip/crack.
8. Grab your curing strip and put it on top of the chip/crack with the drops of resin. Position it down at an angle to prevent trapping air bubbles. Carefully hold the strip with your fingers while you use a razor blade to squeegee out any air bubbles and allow it to cure for the suggested time.
9. Use a sharp razor blade to remove the curing strip. Don’t simply pull it off! Put your finger on top of the chip or crack and also use a razor blade to break the bond between the strip and the glass around the perimeter of the chip/crack. Lastly, twist the strip off so you don’t extract any resin from inside the chip or crack.
10. Use a razor blade to scrape perpendicular to the glass to eliminate any leftover resin.


