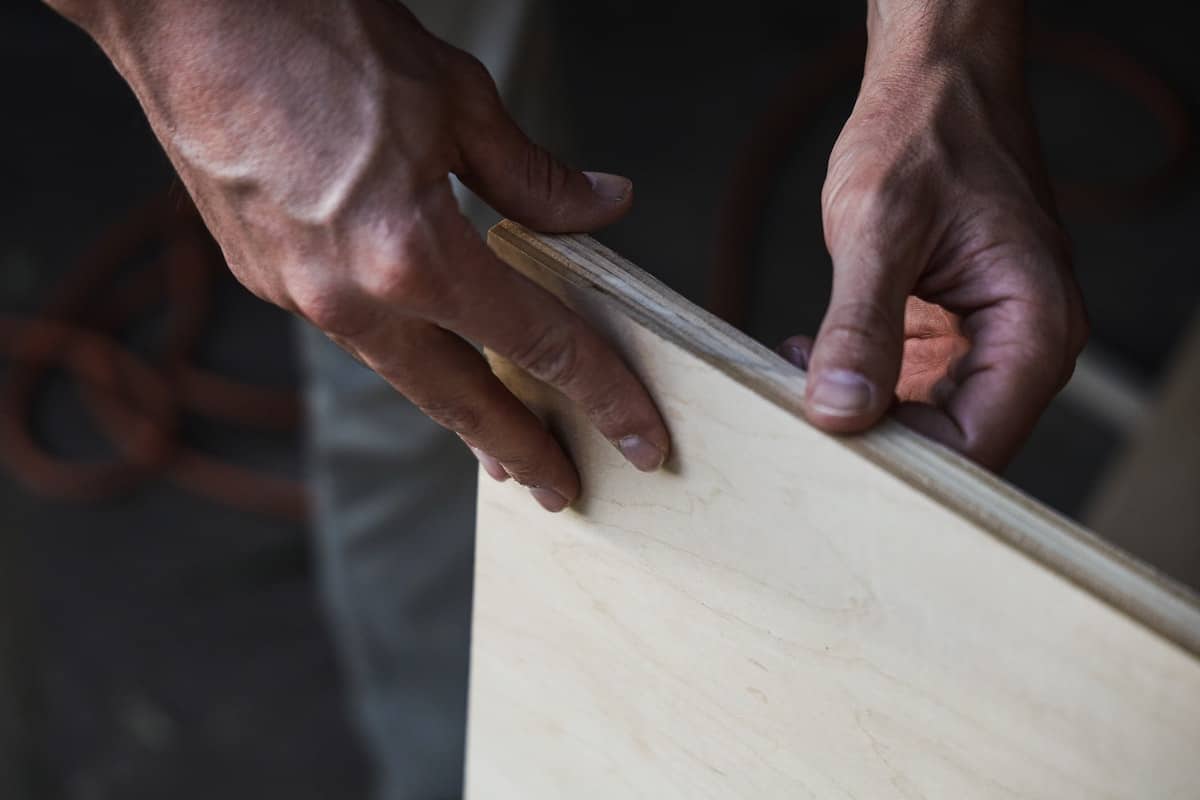
Plywood is a type of manufactured wood panel made from thin sheets of wood veneer, known as plies. These plies are glued together with their grain running at right angles to each other to create a strong and stable panel. The cross-graining technique used in plywood helps to reduce the expansion and contraction caused by changes in humidity and temperature, making it more dimensionally stable than solid wood.
Plywood comes in a variety of thicknesses and sizes, and can be used for a wide range of applications, including construction, furniture-making, and packaging. It is often used as a substitute for solid wood, particularly in areas where solid wood is not available or is too expensive. It is also used in marine industry as it is more resistant to water and moisture than solid wood.
Plywood is made from different types of wood, such as hardwood, softwood, and tropical hardwood. Hardwood plywood is typically made from hardwoods such as oak and maple, while softwood plywood is usually made from softwoods such as pine and spruce. Tropical hardwood plywood is made from species of trees found in tropical regions, such as mahogany and teak.
How to Put Edge Banding on Plywood
Edge banding is a process used to cover the exposed edges of plywood to give it a finished look and protect it from damage. Here’s a step-by-step guide on how to put edge banding on plywood:
- Measure the edges of the plywood that you want to cover. Cut the edge banding to the appropriate length, making sure to add an extra inch or so to allow for trimming.
- Apply a thin layer of adhesive to the edge of the plywood using a brush or roller. Make sure to apply the adhesive evenly to ensure a strong bond.
- Carefully place the edge banding onto the edge of the plywood, making sure that it is flush with the surface. Use a roller or a brush to press the edge banding firmly onto the adhesive.
- Use a sharp utility knife or a special edge banding trimmer to trim the excess edge banding from the edges of the plywood. Make sure to hold the blade at a slight angle to avoid damaging the edge banding.
- Use a fine-grit sandpaper to smooth out any rough spots or uneven areas on the edge banding. This will ensure a smooth, professional finish.
- Finally, apply a coat of finish to the edge banding to protect it from moisture and other damage.
It is important to note that edge banding is a very precise process, so it may require some practice to achieve a professional finish. Also, you should use the edge banding that match with the plywood thickness or slightly smaller. Edge banding with a thickness that is too big will make it difficult to trim and sand the edges.


