Table of Contents
Are you tired of the same old lighting fixtures in your home? If you’re looking to add some pizzazz to your living space, track lighting may be just the solution you need. Whether you want to highlight artwork or create a cozy ambiance in your living room, track lighting can help you achieve your desired effect. In this blog post, we will guide you through the steps to install track lighting in your home for maximum impact. Say goodbye to boring lighting and hello to a new, stylish look!
Planning for the Installation

Determine What Type of Track Light You Have
There are two types of track lighting: standard or ‘straight’ tracks, which are great for task lighting and spotlighting, and flexible tracks, which can be shaped to fit a sitting area and offer more options and flexibility.
Decide on the Track Lighting Location
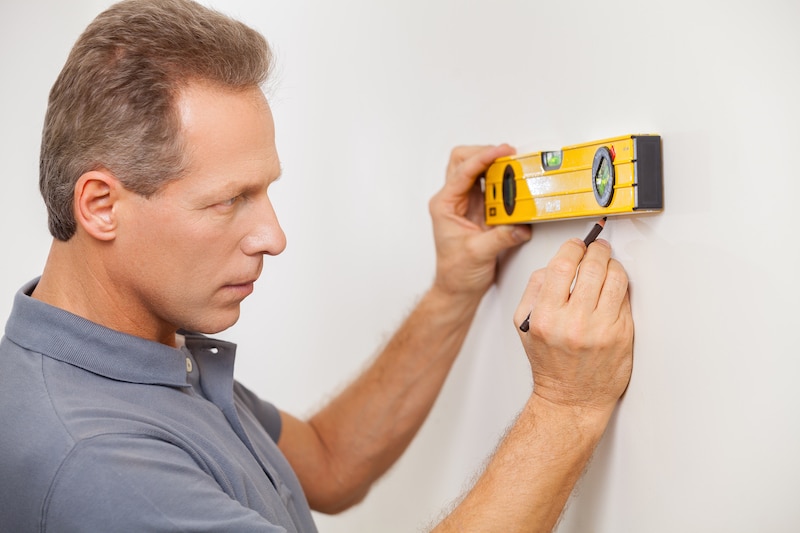
When lighting artwork or displays, a track light should be placed approximately 18 to 26 inches away for best results. If task lighting is to be installed above workspaces, the track should be located centrally above the area. Plan the track and mark the path with a pencil, noting the location of the ceiling joists. Make sure that it is at least six inches away from flammable materials when selecting the location. Use a stud finder to locate the joists if they are unknown. At each end of the planned path, measure the same distance inward from the wall in order to confirm that the track will line up with the joists.
Document Your Setup
To ensure you can see how the new one will be wired, take a photo of the current configuration or label each wire with masking tape before disconnecting any wires. In your current fixture, you’ll see a bare copper ground wire, a black supply wire, and a white neutral wire. A dimmer switch may also have a red wire. Consult a licensed electrician if your wiring differs from this. After noting the old connections, you can start installing the new track LED lighting. To determine if the wires for a new fixture are screwed into terminals on the plate or are attached with plastic connectors (wire nuts), read the instructions on the new lighting. Pigtails, which connect multiple wires to the same location if the wires screw into terminals, may be required if the wires screw into terminals. To ensure a strong connection, strip about half an inch from the rubber coating of each wire using wire strippers.
Connecting the Ground Wire
Properly connecting the ground wire is crucial as it provides a safety release by directing excess current into the ground instead of through the outlet, where it can cause damage. The ground also acts as a path for the current in the neutral wire in case the outlet’s current is interrupted or broken. Look for the bare copper and insulated green wires and connect them using a wire nut. If there is no green wire on the track lighting, you can use a grounding screw inside the junction box instead. This screw has a green head. Wrap your house’s ground wire around the screw shaft and tighten it until the wire is secure. Afterward, connect white to white and black to black. If you’re installing a dimmer switch, check the manual for instructions on connecting the red wire; otherwise, simply cap the red wire with a wire nut.
Installing the Track System

- Install the Mounting Plate
Before installing track lights, make sure to turn off power at the service panel and use a multimeter to test the switch-equipped outlet to confirm that no electricity is flowing through the wires. Next, splice the house wires to the plate leads using wire nuts, connect the ground wire to the plate and to the box if it is metal, push the wires into the box, and screw the plate to the box so it is snug against the ceiling.
- Attach the Track to the Mounting Plate
To secure the track, have someone hold it against the ceiling and center it on the mounting plate while you drive set screws to anchor it to the plate. If the track is longer than 4 feet, have someone hold one end while you work. Use a stud finder to locate joists. If there are no joists, drill holes every foot or so and insert plastic anchors, then drive screws into the anchors. Finally, snap the track onto the plate and drive a screw into every available joist.
- Twist on the Live-End Connector
Insert the live-end connector by turning it 90 degrees until it snaps into place. Align the connector’s two copper tabs with the two copper bars inside the track, and then snap the plastic canopy over the track and mounting plate.
- Attach a Corner
Connectors can be purchased to create turns at 90-degree angles, T-shapes, or odd angles. To install them, slide the connector into the track that is already installed, then slide the next track onto the connector and attach it to the ceiling. Finally, cover all open track ends with end caps.
Conclusion
Installing track lighting can be a great way to add style and functionality to your home. When planning your installation, it’s important to consider the type of track lighting you want, the location of the track, and your wiring setup. Make sure to turn off the power, splice the wires using wire nuts, and connect the ground wire to the plate. Once the mounting plate is installed, attach the track, twist on the live-end connector, and attach corners if necessary. With these steps completed, you’ll have a stylish and functional lighting solution that is sure to impress.
Image Source: Envato Elements


