
Table of Contents
Designing modern wedding invitations and save-the-dates that truly pop isn’t some secret magic trick – it’s actually pretty straightforward once you know the basics. You want your big day to feel special right from that very first announcement, right? Well, this guide is going to spill some easy, pro-level tips to help you design like a champ. No complicated jargon, just clear ideas. Let’s dive in!
Kick Things Off with a Vision That Feels Like You
Every awesome design starts with a spark, a little bit of inspiration. So, think about the vibe of your wedding. Is it super glam? Laid-back and minimalist? Maybe sleek and urban? Your invitations should totally match that energy! A mood board is your best friend here. Just gather up pictures, colors, fonts, or textures that feel right for your day. Pinterest is amazing for this! Once you land on a theme or look, try to stick with it. Keeping things consistent makes your invites look really polished and professional. Seriously, don’t overthink it – just let your wedding’s personality guide the way.
Pick Colors That Tell Your Story
Colors are huge for setting the mood! Soft pastels whisper romance, while bold jewel tones practically shout luxury. A good rule of thumb? Stick to two or three main colors, tops. Too many just make things look messy and confusing. If you’re feeling stuck, a color wheel can be a lifesaver – it shows you which shades play nicely together. For that modern edge, you can’t go wrong with metallics like gold, silver, or even rose gold. They add a touch of class without feeling stuffy. Always, always test your colors on the paper or screen you plan to use to see how they really look.
Typography: Your Design Superpower
Okay, fonts matter way more than you might think. They’re basically the voice of your invitation! For a clean, modern look, you’ll want to lean towards crisp, sans-serif fonts (think simple, no little tails on the letters). Script fonts can add a beautiful, fancy flourish, but be careful not to go overboard – maybe one script font for your names and then pair it with one simple, easy-to-read font for everything else.
Font size is important too! Your names should totally pop, while the details can be a bit smaller. Don’t be afraid to play with bold or italic text to make key info stand out. And please, please, please make sure all the text is easy to read! Nobody wants to squint trying to figure out when and where your wedding is.
Layout: Keep it Clean, Keep it Classy
A cluttered invitation is a major no-no. It just feels stressful to look at! The key is spacing things out properly. Imagine an invisible grid to help you line everything up neatly. And don’t be afraid of “negative space” – those empty areas on the card. They actually make your design feel really fresh and modern. You could center the couple’s names for a classic modern look, or go asymmetrical for something a bit bolder. It’s all about balance. If you have a cool graphic like a floral design, don’t cram text all around it. Tools like Canva have pre-made templates that make nailing a great layout surprisingly stress-free. Bottom line: keep it simple, keep it sleek.
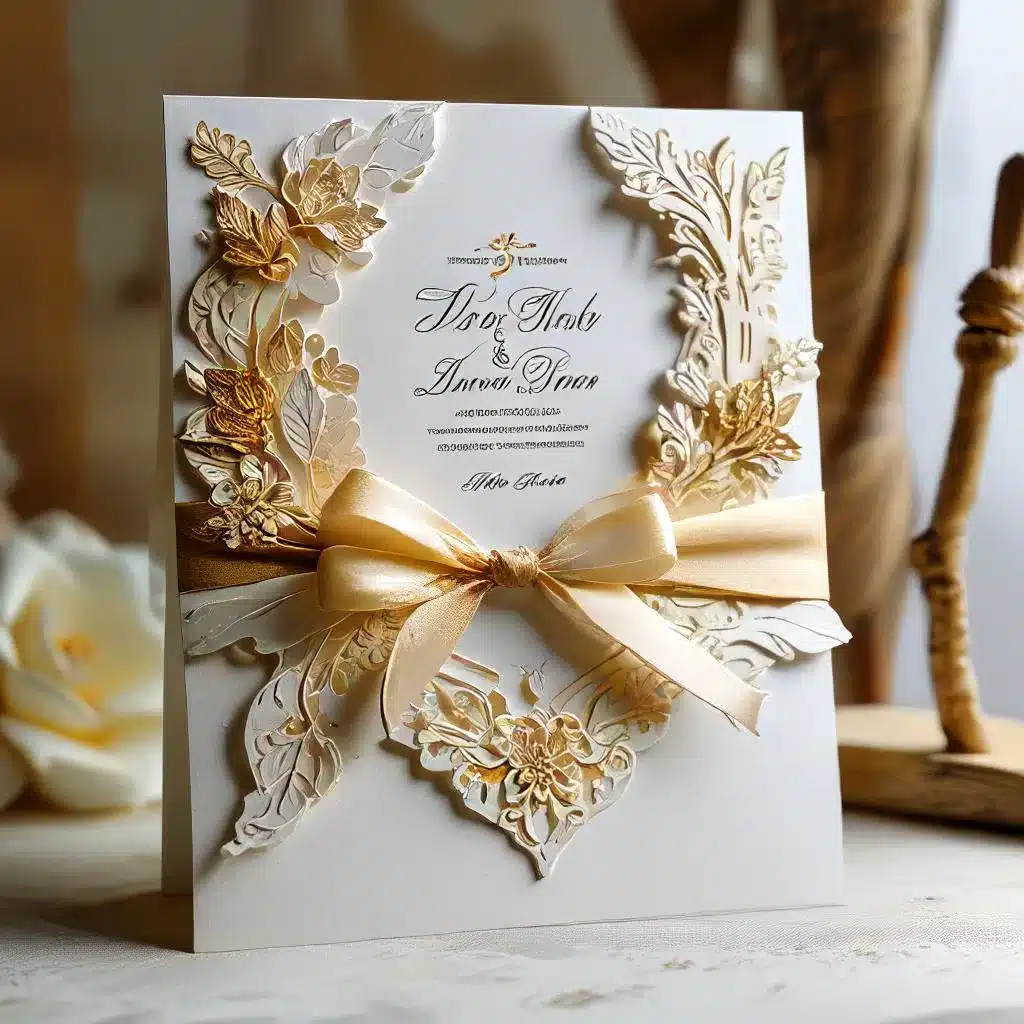
Paper and Printing: The Finishing Touch
The paper you choose can honestly change the whole feel of your invitation! A thick, heavy cardstock just feels luxurious in your hand. Textured paper can add personality. Want something truly modern? Look into acrylic invites or cool vellum overlays.
And printing matters too! Digital printing is usually the most budget-friendly, but sometimes it can look a little flat. If you can swing it, methods like letterpress (where the design is pressed into the paper) or foil stamping (adding shiny metallic details) just scream high-end and add an amazing texture. Match your paper and printing style to your overall budget and vibe. Crucially, order samples before you commit! Colors and textures look totally different in person than they do on a screen. Trust me on this one.
Save-the-Dates: Setting the Scene Early!
Before the main invitations go out, your save-the-dates are the perfect way to kick things off and get the ball rolling. Think of them like a fun little teaser trailer for your wedding! Using a save the date maker on sites like BasicInvite or Minted can give you really quick, professional-looking designs. What to include? Just the absolute basics: your names, the wedding date, the general location (city/state), and maybe your wedding website link if you have one. Keep it short and sweet! Adding a recent photo of you two is always a super personal touch that guests love. Aim to send these out six to eight months before the big day. Psst… digital save-the-dates are awesome if you’re trying to save money and be kind to the planet – they’re fast and easy!
Adding Personal Touches (But Not Too Many!)
Okay, you absolutely want your stationery to feel truly yours, but be careful not to throw in everything you love. A simple monogram with your initials is a lovely touch. Custom illustrations, maybe a little sketch of where you’re getting married, feel really special. Things like wax seals or tying them with a pretty ribbon can definitely elevate the vibe. But pile on too many extras, and it starts to look chaotic, not chic. Pick just one or two unique elements that fit your theme. Guests will notice the thoughtful detail, not get overwhelmed by clutter. Just keep asking yourself: does this little extra fit with the overall look and feel? If not, maybe skip it.
Digital vs. Physical: What’s Right for You?
There’s just something timeless about a beautiful physical invitation in the mail, right? But digital invites are becoming super popular, and for good reason! E-vites save you money and are way more eco-friendly. Plus, tracking RSVPs online is a breeze. Platforms like Paperless Post do a fantastic job of making digital designs look really elegant, not cheap.
That said, some guests (like grandparents, maybe?) really appreciate a traditional paper invite. You can totally mix and match! Send out digital save-the-dates because they’re fast and affordable, and then mail out those gorgeous physical invitations later. Just make sure the designs have a similar look so everything feels cohesive.
Getting the Timing and Etiquette Just Right
Timing is everything when it comes to wedding mail! Save-the-dates should go out nice and early – six to eight months before the wedding is standard. Your main invitations hit mailboxes closer to the date, usually six to eight weeks out. Make the RSVP instructions crystal clear. Having a wedding website for all the extra details (travel, registries, etc.) is a lifesaver and keeps your physical invite clean.
Seriously, double-check all your addresses! A typo can mess everything up. It’s also smart to order a few extra invites just in case you have last-minute guests or mess one up while addressing. Pro tip: weigh one complete invitation at the post office before you send them all to avoid any postage surprises.