
Table of Contents
Students are most often in distress creating visual school assignments. Posters, photo reports, slide images, and brief social clips can look blurry if not properly edited. A tool that helps to polish such projects has a great impact.
With an appropriate photo editor, students can turn bland photographs into neat, focused, and appealing images. This not only improves the quality of their projects but also saves time.
The best part is that it follows a step-by-step process. With the help of CapCut Desktop Video Editor, students have a simple process to edit, refine, and deliver superior visual projects.

CapCut PC Photo Editor for Student Visual Projects
a) Eradicate distractions and focus on the subject
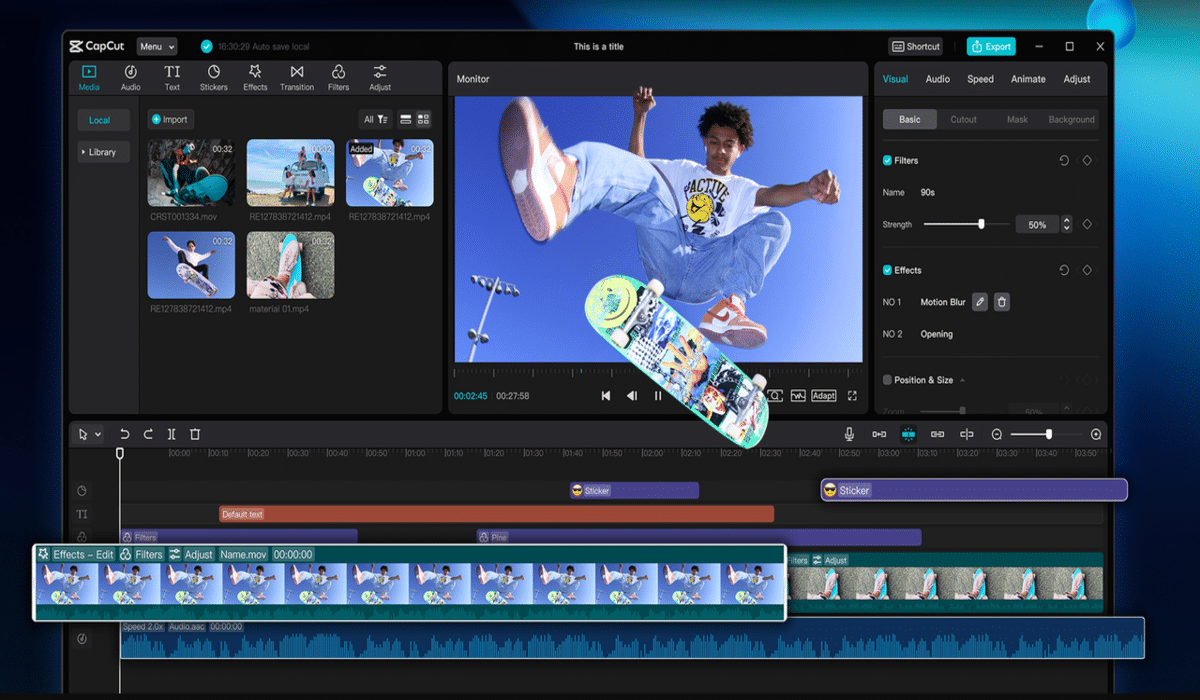
When a student creates a project, the main subject gets lost in a chaotic setting. The unwanted item is quickly eliminated by a one-click auto cutout function of CapCut Desktop Video Editor.
You can now add a simple color or add a school logo to the rear. For example, a science poster is neater when the model is isolated. Students using a photo editor will discover this to be much faster than manually doing it.
b) Speed up work with templates & presets
CapCut PC Photo Editor offers templates and preset sizes. When a project requires a poster, social post, or thumbnail for a class video, students can choose the right format in seconds. Templates save time and enable teams to maintain a consistent appearance in assignments.
c) AI tools and quick fixes
CapCut Desktop Video Editor has AI features that refine images with minimal effort. Auto color, auto cut, and auto cutout provide sharp output within seconds.
All these features are useful for novice design students. Some of them operate similarly to an AI video generator, which provides instant results.
d) Annotation & explanation tools
Other project notes usually have to be created. With CapCut PC, students can add text, arrows, stickers, and shapes to point out things. These are applied to indicate steps in a report or guide readers through a process highlighted in a visual project.
e) Project organization, layers & batch editing
It may be difficult to handle numerous images while teaming up. Folders and layers are available in CapCut Desktop Video Editor to assist students in handling all project elements. Batch export is also convenient when there are some images to be exported simultaneously to submit.
f) Pricing & feature limitations
Observe that CapCut PC is not entirely free. Though cutout, crop, and text basics are free, professional features may be paid for.
Some of the Pro plans in CapCut’s online video editor and photo editor include access to stock materials, advanced filters, and the ability to export in higher resolution. Students must look into these since they will be caught off guard when making important projects.
How to Edit and Enhance Classroom Photos with CapCut Desktop Video Editor
Step 1: Install CapCut Desktop Video Editor
Firstly, download CapCut Desktop Video Editor from its official website. Don’t use third-party installers for safety reasons. Run the installer file after downloading and follow the prompts as directed. Ensure your computer meets the minimum system requirements for seamless use.
After installation, run the software and sign in through an email or social account. You are able to start with a free account, but there are some Pro-only features. Look for the Pro indicator on the menu before setting up your project.

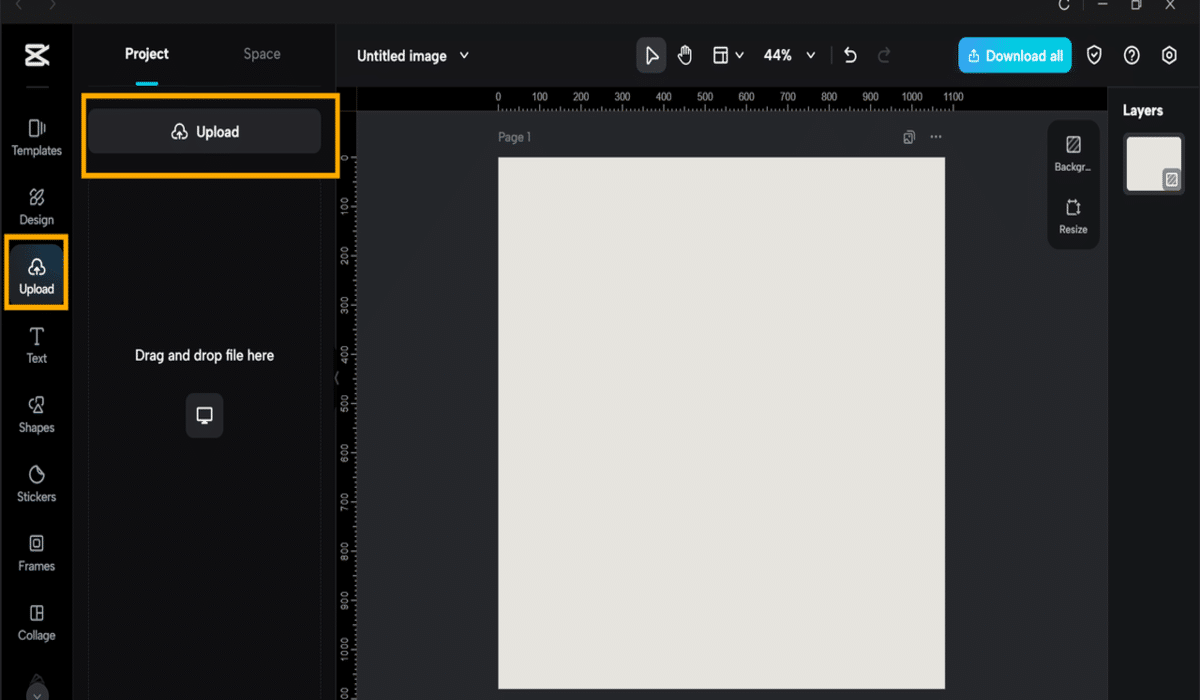
Step 2: Create a New Project & Upload Assets
Click Create New Image on the home screen and select a size such as poster, story, or 16:9 canvas. Next, click Upload to add your images, screenshots, icons, or photos. They will appear in the media library and can be dragged onto the editing canvas.
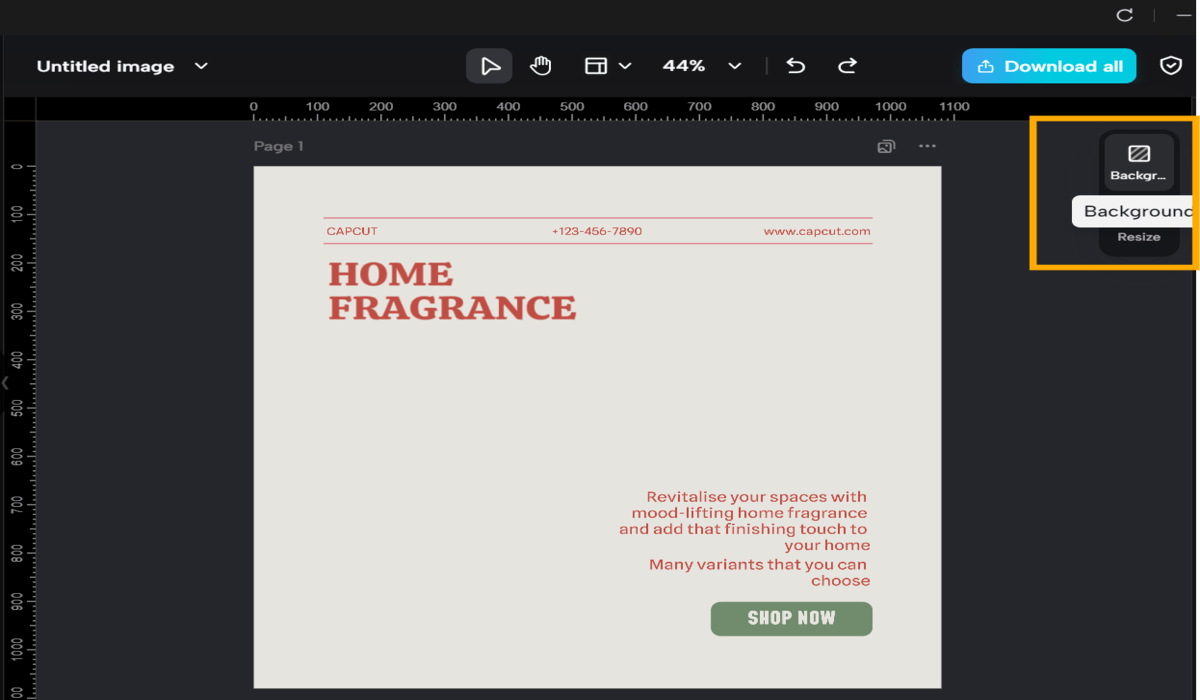
Step 3: Remove or Replace Backgrounds
Choose a photo on the canvas and select Remove Background from the right-hand panel. With one click, the background disappears. Replace the space with a solid color, blurred backdrop, or a relevant image like a chart or diagram.
For smoother results, refine edges using the feather or masking brush. This helps your main subject stand out while keeping the background subtle.
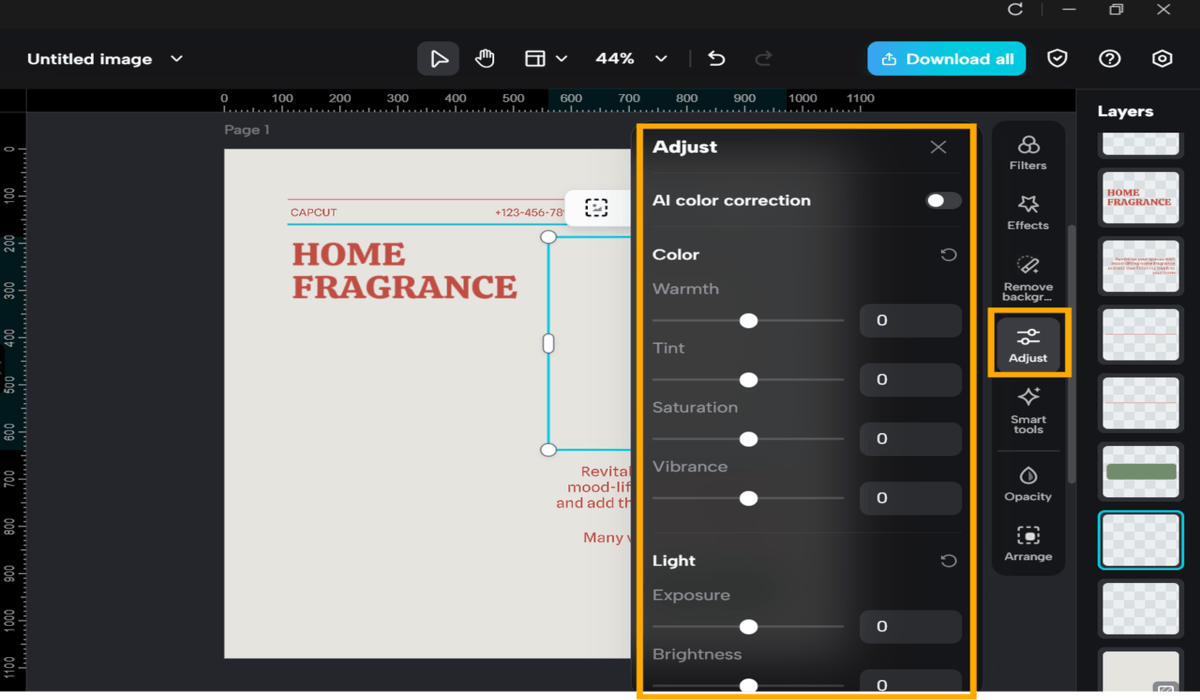
Step 4: Repairing the Central Photo
Click the image and use the crop tool to surround the subject. Correctly straighten tilted photos for a clean composition. Then, open the “Adjust” panel to adjust brightness, contrast, and color balance.
The white balance slider is useful for fixing the light in school photos. Use retouch tools for minor fixes. Leave filters simple so that all projects look neat, especially when students have several images to turn in simultaneously.
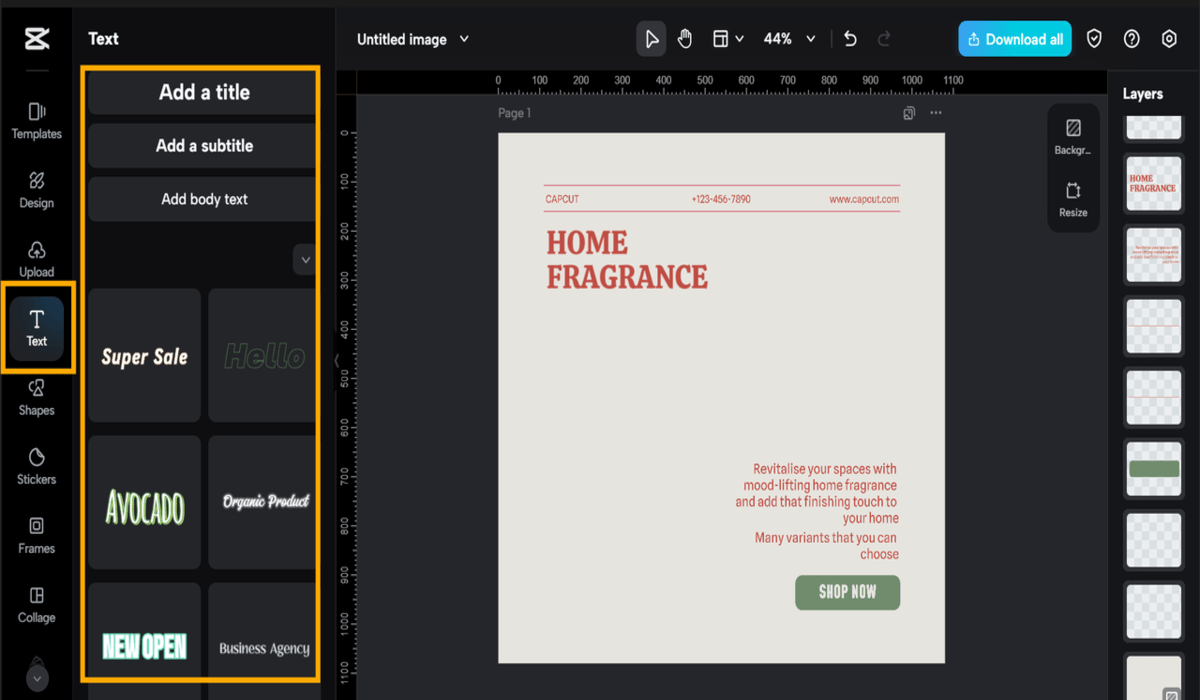
Step 5: Add Labels, Text, and Instructional Overlays
Choose the “Text” option and add clear titles, steps, or captions. Add arrows, stickers, or shapes to the image to guide the viewer’s eye. Maintain the same font style and size for all images for professional and consistent purposes.
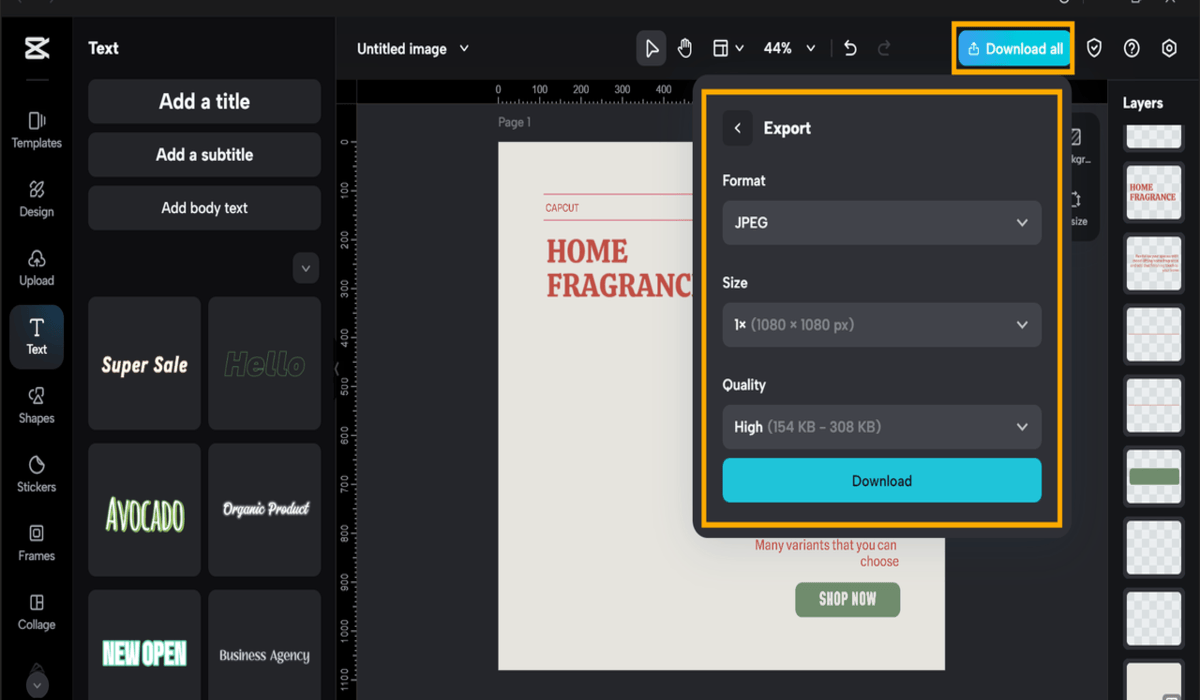
Step 6: Export, Share & Classroom Submission
Hit “Download” at the top right. Select JPG or PNG for normal images, or PNG for transparent images. Save files on your computer and upload them to Google Classroom, slide decks, or print out copies.
Conclusion
CapCut Desktop Video Editor equips students with the right tools to produce visual projects that look clean, sharp, and professional. The steps make editing easy and help each image speak for itself in an uncomplicated way.
Some of the higher-level features are only available with a paid subscription, so it’s best to work on projects within the tools provided by the free service. Start with one very small project, like a science poster or photo report, and see how much prettier the result will be.