Table of Contents
So, you have been reading about the benefits of floor tiles for your garage floor. Perhaps you like how durable they are and how you can add some color to your boring garage. Maybe you like the slip-resistance they have ad how they can keep your space safe to walk around when there is bad weather outside. No matter what your reason is for buying garage floor tiles, you need to consider the installation. Some brands make them easy for beginners to install on their own, while other designs are more complicated.
One brand that you are bound to come across is Swisstrax. They are one of the most popular brands for garage floor tiles and for many great reasons. But, what about the installation? Is this going to be something you can handle if you are a beginner in DIY?
SwissTrax Garage Floor Tiles are for Beginners
Everybody talks about garage floor tiles being easy to install. That is one of the main purposes of their design. They skip having to bring in the professionals to get a new garage floor and pay the price that comes with that service. Instead, you are supposed to be able to install garage floor tiles quickly and easily. But, is that really the case with Swisstrax garage floor tiles?
The answer is yes. Many beginners choose this brand because they know the installation is simple. There is an easy loop and peg system, which allows all of the tiles to secure together and connect. So, there are no tools necessary or hard labor. You do not need any DIY experience to transform your garage.
Something to know is that there are different types of Swisstrax tiles available. While they all have the same installation system, you need to get to know where you can buy Swisstrax tiles at a good price. One of the best places online is Garage Giants. They offer a variety of styles and designs that allows you to renovate your garage easily. Indeed, this can also be at a good price, which is what you want to hear if you have a large space.
The Steps to Install Swisstrax Garage Floor Tiles
Do you want an overview of what you can expect when it comes to installation? To demonstrate how easy it is to install these tiles, we have set out the steps below. So, let’s take a look at them.
Prepare the Floor
Before starting with the installation, it is important to prepare the area where the tiles will be put down. This means cleaning the floor of the garage and getting rid of any items that are in the way, as well as dirt and debris from outside. So, bring in a broom and make sure you clear the area.
Start in the Corner
The best place to start with garage floor tiles is in the corner of a room. This is going to make it easier to install the tiles and allow you to work logically. Something that is recommended is to leave a slight gap between the walls or any cabinets you have. The gap will depend on the style of Swisstrax tiles you have bought and will be stated in the instructions. This is to allow for any expansion.
Understand the Loop and Peg
The great thing about Swisstrax tiles is that they have a loop and peg system for installation. This makes it easy to connect each tile. Essentially, the peg is going to connect to the loop, keeping the tiles firmly and securely together.
Cut If Necessary
when you are installing the garage floor tiles, you will soon discover if you are going to have to cut any. Namely, you might have too much of the tile and need to cut some of it off when you reach the other side of the room. Thankfully, all Swisstrax tiles can be cut with an electrical saw.
Fully Portable for Future Homes
One of the best things about garage floor tiles is that they are portable. They are not permanent renovations that you have to leave in the house when you move. Instead, you can bring them with you to your next garage. Indeed, they are easy to uninstall too. You just have to start with the last tile you installed. You will then disconnect the loop and peg system. It might take some force to disconnect them. But, this is easily done when you have time.
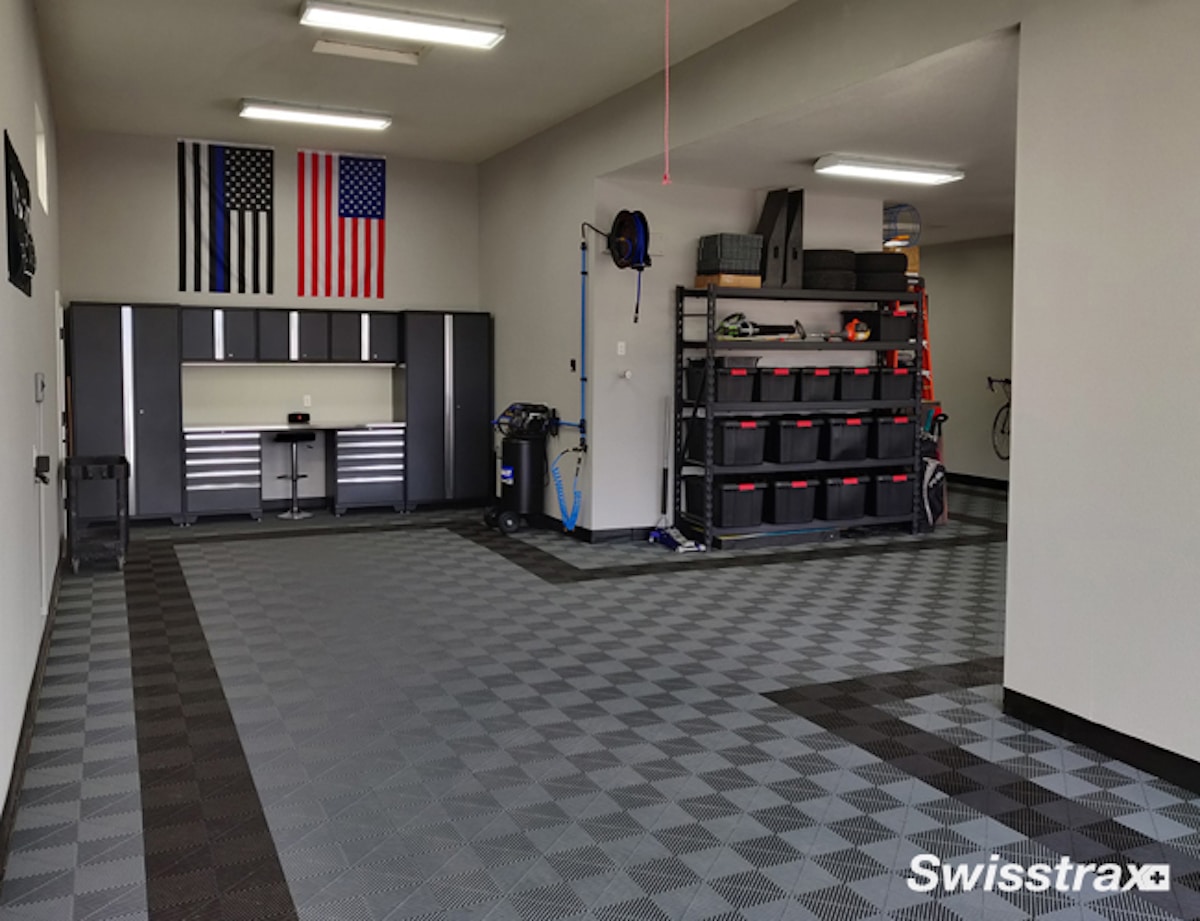
Image Credit: Swisstrax.com


