Table of Contents
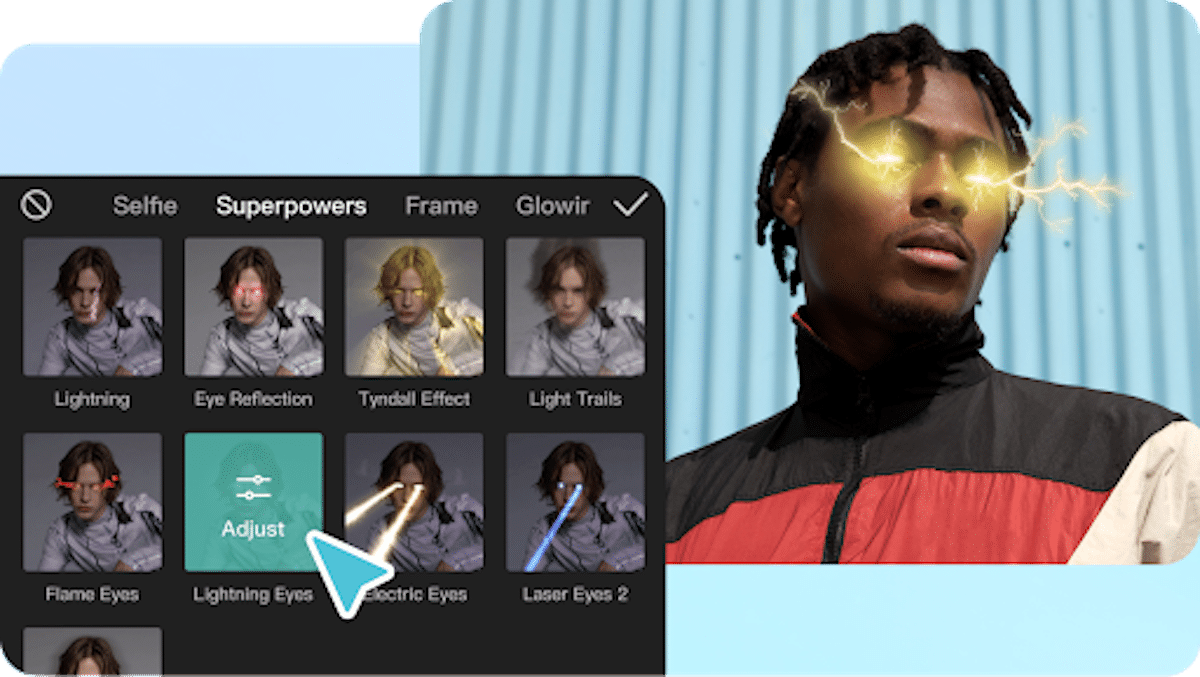
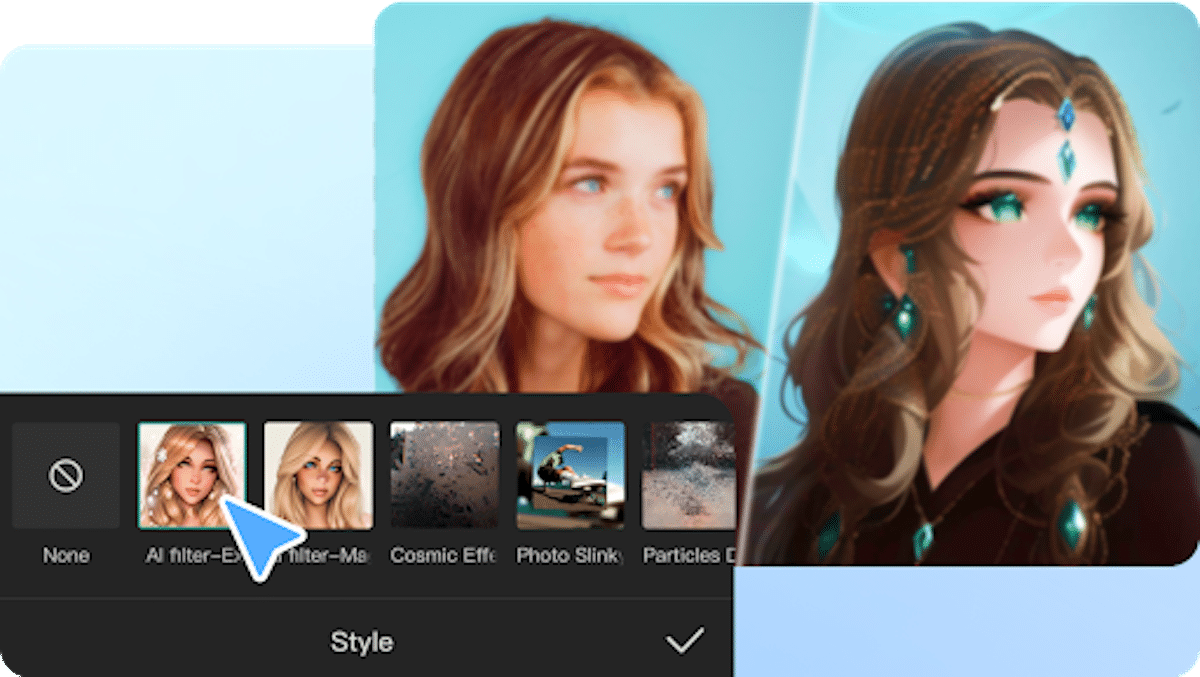
Anime eyes are a distinctive feature that can bring life and expression to your videos or animations. If you’re a fan of the anime art style and want to add anime eyes to your videos, CapCut is an excellent online video editor that allows you to achieve this effect easily. In this step-by-step guide, we’ll walk you through the process of creating anime eyes using CapCut. Let’s get started!
Step 1: Sign Up for CapCut
Open your browser and search for CapCut. Fill in your personal details.
Step 2: Launch CapCut and Create a New Project
Open the CapCut app and click the “+” button to create a new project. You can choose to create a new project from scratch or import an existing video from your gallery.
Step 3: Import the Video
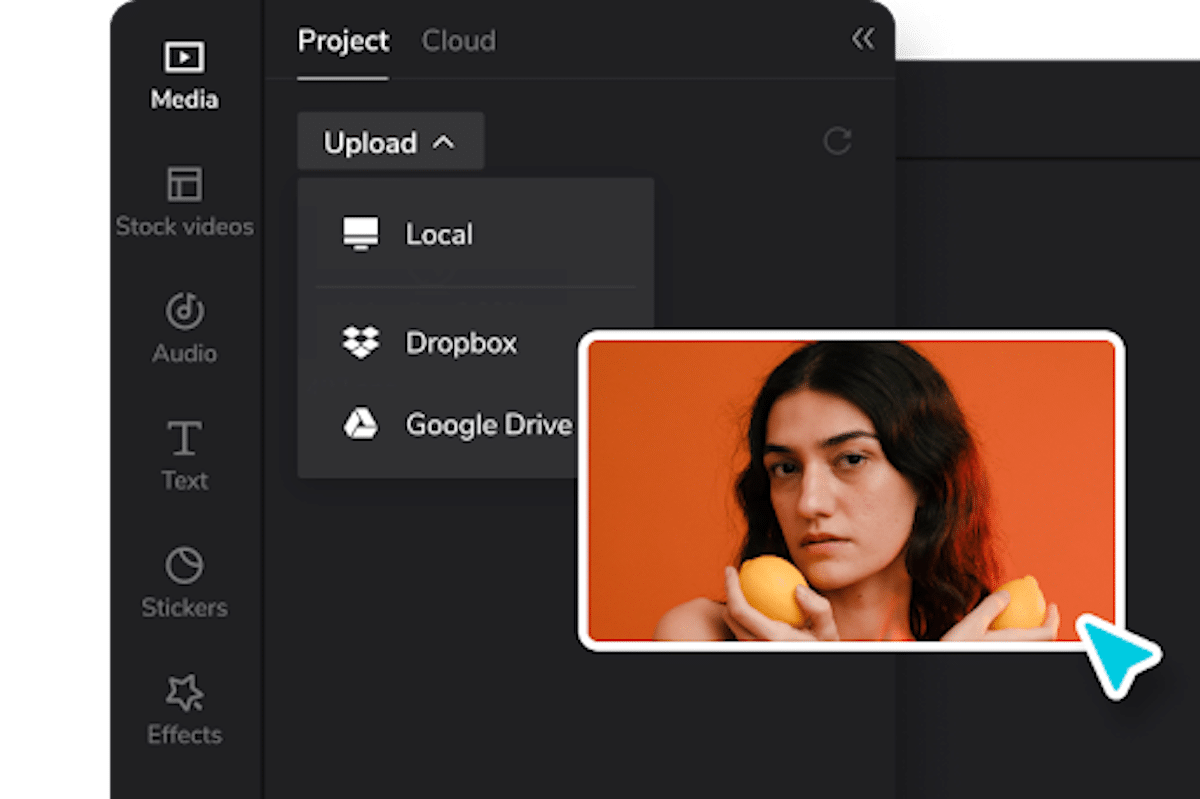
If you’ve chosen to start a new project, you can import the desired video by tapping the “Import” button and selecting it from your gallery. Make sure the video you choose is suitable for adding anime eyes.
Step 4: Locate the Video on the Timeline
After importing the video, it will appear on the timeline at the bottom of the screen. Drag the video clip left or right to position it at the desired starting point.
Step 5: Add the Anime Eyes Effect
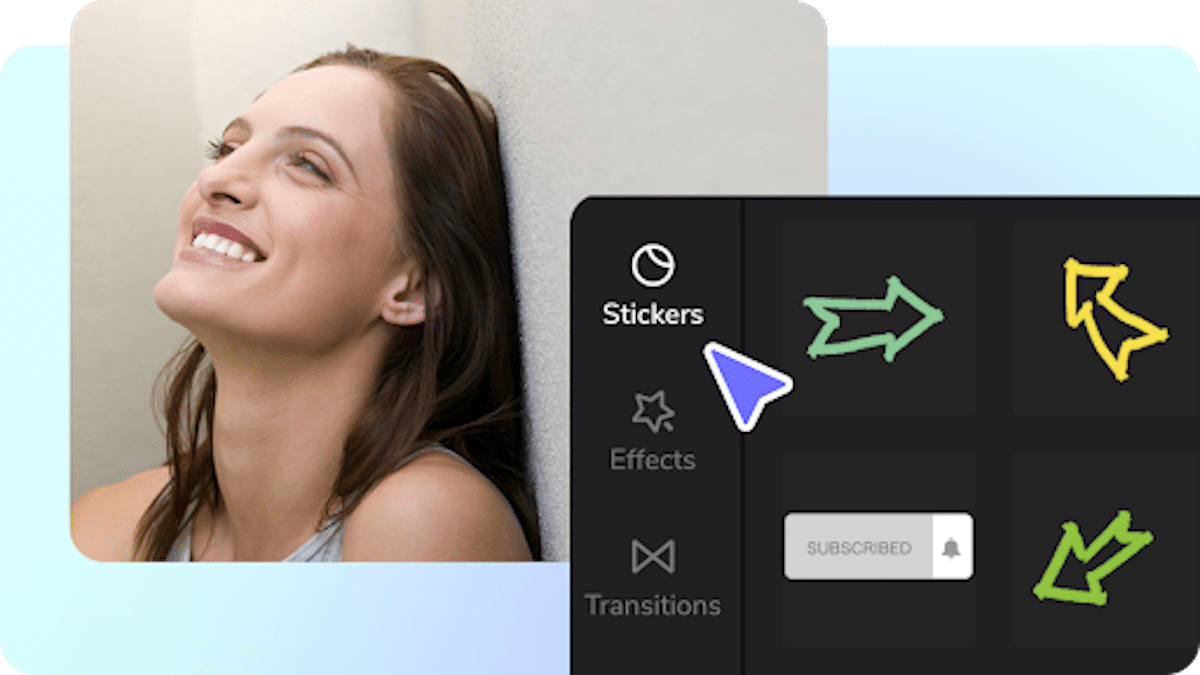
Tap on the “+” button at the bottom of the screen and select the “Sticker” option from the menu that appears. CapCut offers a variety of stickers, including anime-style eyes. Also use a video background remover to remove any unwanted background in your video before you proceed.
Step 6: Customize the Anime Eyes
After selecting the anime eye sticker, you can customize its position, size, and orientation. Pinch in or out to resize the sticker, and use two fingers to rotate it. Position the eyes over the subject’s eyes in the video, aligning them as accurately as possible.
Step 7: Adjust the Sticker Duration
By default, the sticker will appear throughout the entire duration of the video clip. If you want the anime eyes to appear only for a specific time frame, tap on the sticker on the timeline and then tap on the scissor icon to split it. Delete the unwanted portion by tapping it and selecting the “Delete” option.
Step 8: Fine-Tune the Anime Eyes
To enhance the anime eyes effect, you can further customize them. Tap on the sticker to reveal additional options, such as adjusting the opacity, brightness, and contrast or adding filters to the eyes. Experiment with these settings to achieve the desired anime look.
Step 9: Preview and Export
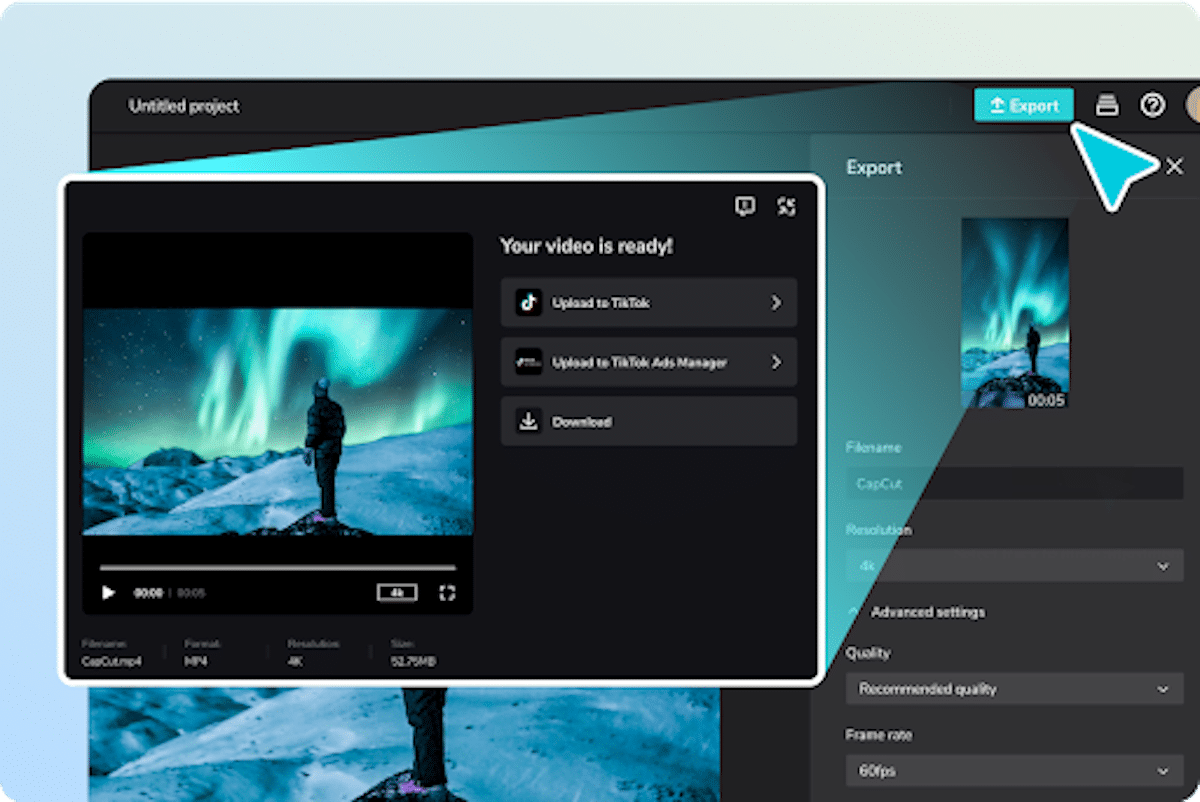
Once you’re satisfied with the anime eyes effect, tap the play button to preview your video. If everything looks good, tap the checkmark or the export button to save the edited video to your gallery.
Step 10: Share and Enjoy
Congratulations! You’ve successfully created anime eyes using CapCut. Now, you can share your video on social media platforms like Instagram, TikTok, or YouTube and amaze your friends and followers with your anime-style editing skills.
Why CapCut is the Ideal editing tool to make Anime Eyes

CapCut is a popular video editing tool that offers a range of features and effects, making it a versatile option for creating various visual effects, including anime-style eyes. Here are a few reasons why CapCut can be considered an ideal editing tool for making anime eyes:
- CapCut has a user-friendly interface that is easy to use, even for beginners. It provides a simple and intuitive editing experience, allowing users to learn and apply various effects, including anime eyes, quickly.
- Wide Range of Editing Tools: CapCut offers a wide range of editing tools and features that can be used to create anime eyes. These include filters, overlays, stickers, and customizable effects. Users can experiment with different combinations of tools to achieve the desired anime-style eye effect.
- Customizable Effects: CapCut allows users to customize and adjust the effects to suit their preferences. You can modify the anime eyes’ size, shape, color, and opacity to create a unique and personalized look. This flexibility enables users to create eye effects that closely resemble the style of anime eyes they desire.
- Multiple Layers and Blending Modes: CapCut supports multiple layers and blending modes, which are essential for creating complex and layered anime eye effects. Users can overlay different elements, adjust their transparency, and experiment with blending modes to achieve the desired look.
- Easy Animation and Keyframing: CapCut offers animation and keyframing capabilities, allowing users to animate the anime eyes and create dynamic effects. Users can animate eye movements, blink, or even add subtle twinkle effects to make the eyes come alive and give them a more anime-like feel.
- Vast Resource Library: CapCut provides a vast resource library of stickers, animations, and effects that can be used to enhance and create anime eyes. Users can access various eye-related assets and incorporate them into their projects, saving time and effort in creating eye effects from scratch.
Conclusion
CapCut is a versatile video editing app that provides a straightforward and intuitive way to create anime eye effects for your videos. By following the step-by-step guide outlined above, you can bring an exciting and unique touch to your videos, allowing you to unleash your creativity and express your love for the anime art style. So go ahead, download CapCut, and start transforming your videos into captivating anime masterpieces!
Feature Image Credit: CapCut


