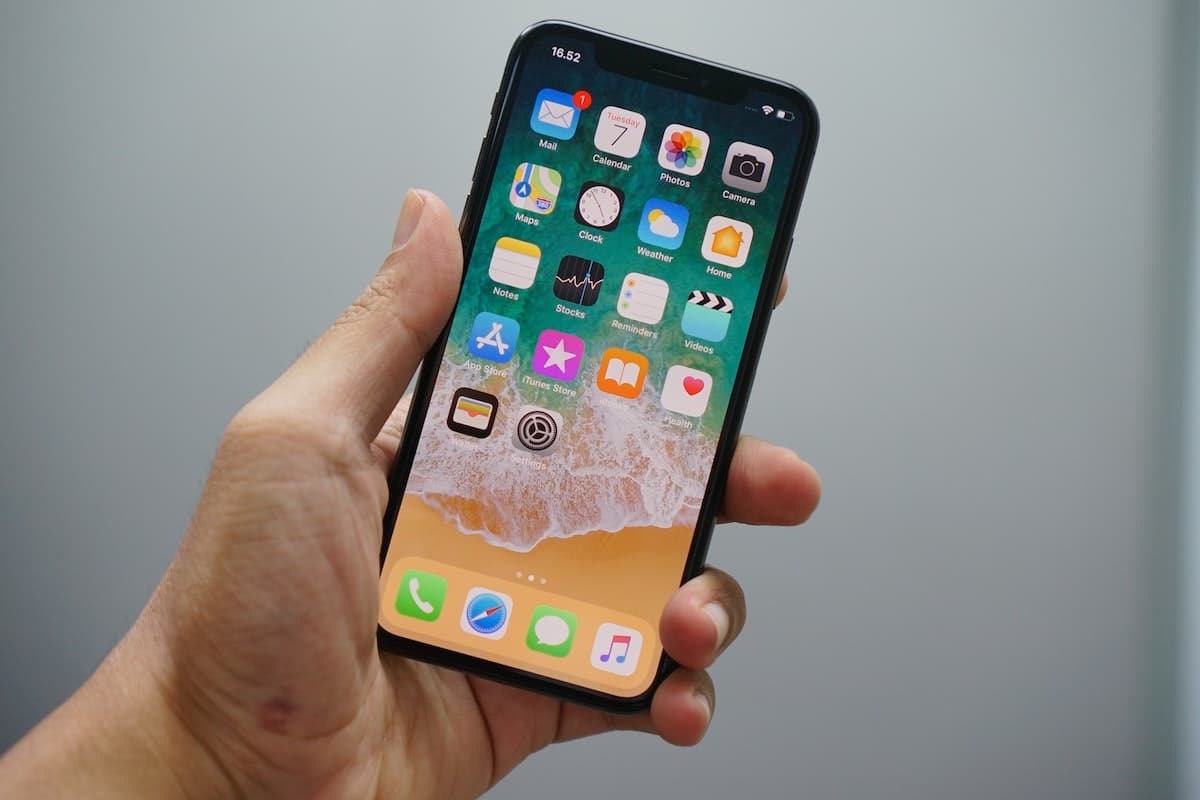
If you’re an iPhone user, it’s important to protect your device and your personal data when you travel. One effective way to do so is by using a VPN (Virtual Private Network). In this article, we’ll explore how to secure your iPhone with a VPN when you travel.
First, it’s essential to understand what a VPN is and how it works. A VPN is a secure connection between your iPhone and a remote server that encrypts all data sent and received. This means that any information you transmit, such as browsing history, passwords, and personal information, is protected from prying eyes.
To set up a VPN on your iPhone, follow these steps:
- Choose a reliable VPN for iOS. Like a Planet VPN. There are many VPN providers out there, but not all of them are created equal. Do some research to find a reputable provider that has a strong track record of privacy and security.
- Download and install the VPN app on your iPhone. Once you’ve chosen your provider, download the app from the App Store, and install it on your device.
- Set up your VPN account. Open the VPN app and follow the instructions to create an account. This will usually involve choosing a plan, entering your payment details, and selecting a server location.
- Connect to the VPN. Once you’ve set up your account, you can connect to the VPN by opening the app and selecting a server location. Your connection will now be encrypted, and all data sent and received will be protected.
It’s important to note that using a VPN can slow down your internet connection, especially if you’re connecting to a server in a different country. However, the added security is well worth the tradeoff, especially when you’re traveling and using unfamiliar Wi-Fi networks.
In conclusion, securing your iPhone with a VPN is an important step to protect your personal data when you travel. By following these simple steps, you can ensure that your connection is encrypted and your information is kept safe from prying eyes


